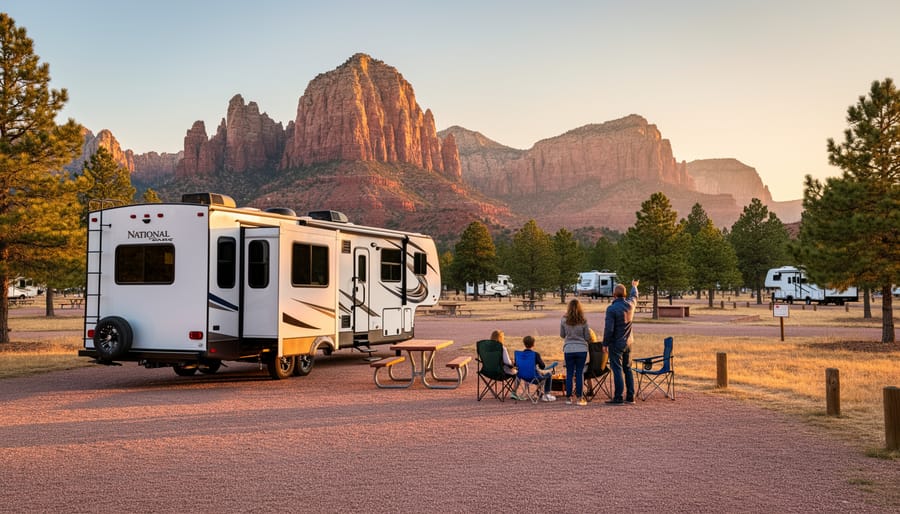
Planning a national parks road trip in your RV comes down to four essential steps: identifying parks with RV-friendly campgrounds, using specialized apps to locate sites with the hookups and dump stations you need, understanding each park’s reservation system and booking windows, and verifying permit requirements before you arrive. Get these right, and you’ll spend less time wrestling with logistics and more time watching your kids spot wildlife at sunrise.
We learned this the hard way during our first multi-park trip when we rolled into a park only to discover the campground we’d counted on didn’t accommodate our 32-foot fifth wheel. That evening spent scrambling for an alternate site taught us that front-loading research saves you from scrambling later.
The beauty of an RV national parks tour is the freedom to wake up surrounded by redwoods one morning and desert canyons the next, all without the hassle of hotel check-ins or packing suitcases. But that freedom depends on knowing where your rig can actually stay. Some parks have campgrounds with full hookups, others offer only primitive sites, and a few restrict RV length entirely. Figuring out these details upfront lets you string together a route that fits your family’s needs and your rig’s capabilities.
Technology has made planning infinitely easier. Apps designed for RVers help you search dump stations and campgrounds across the U.S. and Canada, filter by amenities, and read reviews from fellow travelers who’ve already navigated tricky turns or tight parking pads. Pair that with smart timing on reservations (demand peaks June through September, with July and August heaviest) and attention to park-specific rules like designated camping areas and quiet hours, and you’ve got a recipe for a smooth, memorable adventure that can even cut RV travel costs by avoiding last-minute bookings and backtracking.
Apps and Tools You’ll Need Before You Hit the Road
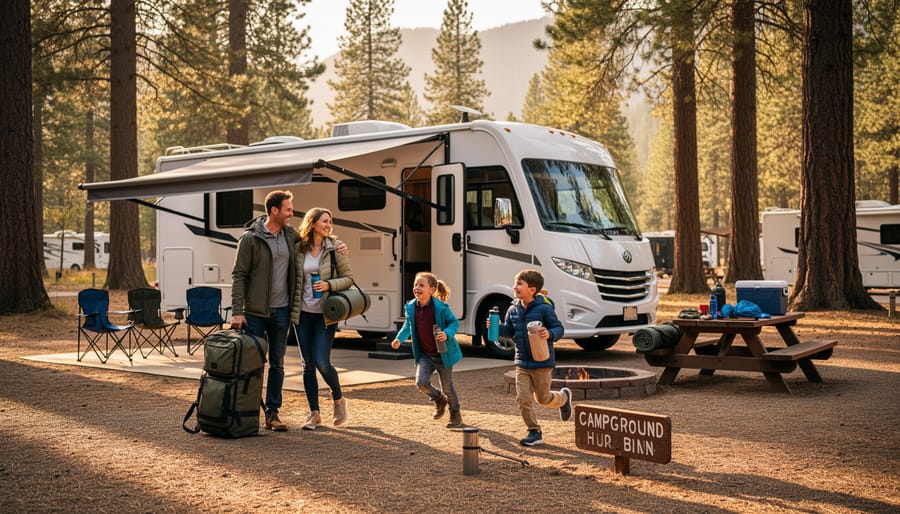
The right apps can mean the difference between a smooth, well-planned adventure and scrambling to find a spot as the sun sets. I learned this the hard way on our first big RV trip when we rolled into a park without checking amenities beforehand, only to discover the nearest dump station was forty miles back the way we came. Now I load up my phone with the best road trip apps before we even think about pulling out of the driveway.
Your essential toolkit breaks down into a few key categories:
- Campground finders with dump station filters, platforms like Campendium that let you search RV parks and dump stations across the U.S. and Canada
- Reservation management apps, tools that track your booking confirmations and send reminders when reservation windows open
- Offline map tools, navigation apps that work without cell service in remote park areas
- Park-specific permit trackers, digital wallets or apps that store entry passes and camping permits so you’re not digging through paperwork at the gate
Campendium has become my go-to for the practical stuff. When you’re planning a multi-park route, being able to filter for dump stations makes all the difference. You can see at a glance which campgrounds offer full hookups, which have dump stations on-site, and where you’ll need to find commercial options along your route. The user reviews are gold too, real families sharing whether the sites actually fit a 32-foot fifth wheel or if that “RV-friendly” label is optimistic.
I also keep a weather app that covers multiple locations, since conditions can shift dramatically between parks. On our Colorado loop last summer, we watched a storm system moving through Rocky Mountain National Park while we were still two days out, giving us time to adjust our itinerary. Having these tools downloaded and tested before you leave means you’re troubleshooting at home, not in a parking lot with spotty service and tired kids asking when we’ll get there.
Step 1: Research Park Rules and Permit Requirements
Before you commit to campground bookings or map out your route, you need to know what’s actually allowed at the parks on your list. Each national park operates under its own set of rules, and showing up without the right permits or unknowingly breaking regulations can turn your dream trip into a frustrating experience, especially when you’ve got kids asking why you can’t stay at the campground you promised them.
Start by visiting the official website for each park you plan to visit and look for their camping regulations page. You’ll typically need two things: a valid camping permit for your specific campground and a park entry pass. Jasper National Park, for example, requires both before you can legally camp in any designated area. Don’t assume you can camp anywhere you see a flat spot, national parks strictly limit camping to designated campgrounds and backcountry sites with proper permits.
Pay close attention to quiet hours and curfews, which exist to keep campgrounds family-friendly and peaceful. Jasper enforces quiet hours between 11 pm and 7 am, during which a liquor, cannabis, and fire curfew applies. These rules matter when you’re parked next to other families, and honestly, respecting them makes the experience better for everyone, including your own crew who probably need the sleep after a long day exploring.
I learned this the hard way on our first multi-park trip when we arrived at a campground only to discover our RV exceeded their length limit, which was buried in the fine print. We had to scramble to find an alternative, and with demand heaviest from June through September, July and August being peak season, last-minute options were slim. Taking 30 minutes to read the rules before you book saves hours of stress on the road and ensures your family’s trip stays on track.
Step 2: Map Out Reservation Windows and Booking Dates
Knowing when reservations open can mean the difference between scoring a coveted campsite and scrambling for alternatives. National parks don’t all release their bookings on the same schedule, and the most popular destinations fill up within minutes of becoming available. You’ll need to research each park’s specific reservation system and mark your calendar accordingly.
Take Jasper National Park as a perfect example of how competitive this process gets. The Parks Canada Reservation Service opens for frontcountry camping bookings on January 27, 2026 at 8 am Mountain Time. If you’re eyeing a summer stay in Jasper, you’d better be logged in and ready to click at 7:59 am. Thousands of families are doing the exact same thing, all hoping to claim those prime spots for peak season.
And peak season is real. Demand hits its heaviest stride from June through September, with July and August being absolute madness. These months align with school vacations, perfect weather, and wildlife viewing opportunities. That’s when everyone wants to be there, which means reservation windows for these dates vanish fast. If your family’s schedule allows any flexibility, consider shoulder season dates in June or September when availability improves slightly.
Here’s how to position yourself for success when booking opens:
- Set multiple calendar reminders for reservation launch dates, at least one week before and again the night before, so you’re not caught off guard.
- Create accounts on reservation platforms ahead of time with payment information saved, eliminating fumbling during those critical first minutes.
- Have backup dates ready before you start clicking, ideally a range of three to five potential arrival dates within your preferred window.
- Keep your itinerary flexible by identifying two or three acceptable campgrounds in each park rather than fixating on just one location.
I learned this lesson the hard way when I tried booking Yellowstone at 9:30 am on opening day, thinking I had plenty of time. Every single site I wanted was gone. Now I treat reservation launches like concert tickets, with my laptop open, coffee ready, and fingers poised.
Don’t forget that some parks stagger their releases or reserve blocks of sites for different windows. A few campgrounds hold back sites for last-minute bookings or release cancellations periodically. Check each park’s specific system, because rules vary. When Jasper’s system opens in January, families booking summer trips are competing against everyone else who’s done their homework.
Step 3: Find Campgrounds with Hookups or Dump Station Access
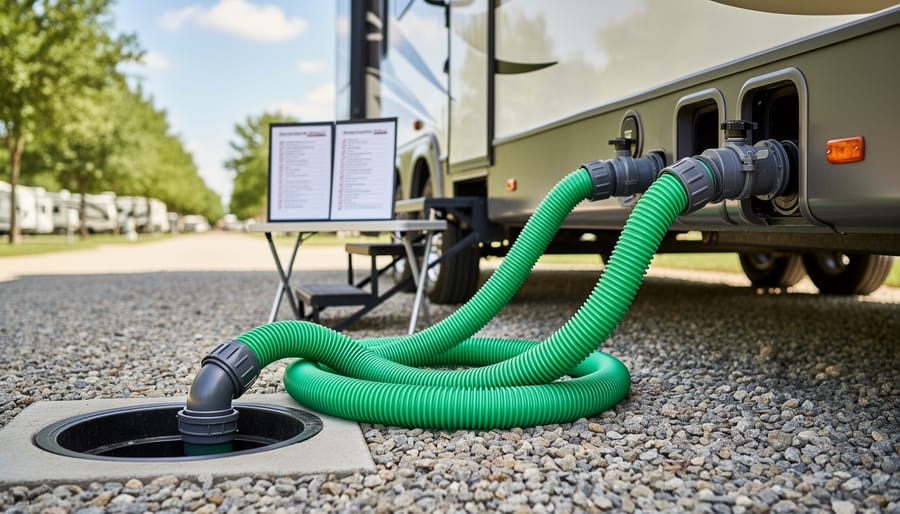
Once you know when reservations open, your next challenge is finding campgrounds that actually meet your RV’s practical needs. This is where many families hit a reality check: not every national park campground offers full hookups, and some have no hookups at all.
Here’s what I learned the hard way on our first multi-park trip. I’d mapped out this beautiful route hitting three national parks in two weeks, only to discover, two days before departure, that two of my booked campgrounds had zero hookups and the nearest dump station was 40 miles away. That meant careful water rationing and strategic planning around where we could empty our tanks, which wasn’t the carefree adventure I’d imagined.
Start by using tools like Campendium to search dump stations along your planned route and filter RV parks by specific amenities. You can search by location, see what services each campground offers, and read reviews from other RV families who’ve stayed there. This matters because the official national park websites often list basic info but don’t always make it clear what “no hookups” actually means for your trip logistics.
Look for campgrounds offering full hookups (water, electric, sewer) if you want maximum convenience, especially with kids. Partial hookups typically include water and electric but no sewer connection. If you’re booking a primitive site with no hookups, identify the closest dump station before you commit. Some national parks have dump stations at the campground entrance or nearby, while others require a drive to a commercial facility outside the park.
Download the locations of dump stations between your stops, not just at them. On that same trip where I learned my lesson, we found a municipal dump station halfway between parks that saved us from driving 30 miles out of our way. It became our backup plan, and knowing it existed gave us peace of mind.
Check reviews for details the official listings miss. Other RVers will mention if hookup posts are weirdly positioned, if water pressure is weak, or if the dump station requires a special adapter. These small details prevent frustrating surprises when you roll in tired after a long driving day with the family.
Step 4: Build Your Route Around Campground Locations and Services
With your reservations secured, you’re ready to plot the actual route, and this step is where your national parks dream trip becomes a real driving plan. The goal is to connect your booked campgrounds into a logical sequence that respects both your family’s comfort and your RV’s service needs.
Start by laying out your confirmed campground locations on a map, then fill in the gaps between them. You’re not just connecting dots; you’re making sure each leg accounts for water refills, waste dumping, and realistic driving distances with kids aboard. I learned this the hard way on our first multi-park trip when I booked stunning campsites 400 miles apart without checking for dump stations in between. By day three, our gray tank was screaming for mercy and the kids were asking why we kept stopping at random rest areas.
Check for campground closures before you finalize anything. For example, Jasper National Park’s Wabasso Campground and Whirlpool Group Campground will remain closed for the 2026 camping season, so if those were on your original wishlist, you’ll need to adjust. When a preferred spot isn’t available, look at campgrounds within an hour’s drive of your target park, sometimes a nearby commercial RV park with full hookups makes a better base camp anyway.
Balance your dream destinations with service realities:
- Limit daily driving to 3-4 hours when traveling with kids, building in time for breaks and unexpected detours
- Plan rest days at campgrounds offering full hookups so you can recharge tanks, laundry, and everyone’s patience
- Identify backup campgrounds along your route in case weather, road closures, or exhaustion require a pivot
- Build flexibility into your schedule, some of our best memories came from unplanned stops we had time to explore
Layer in those preventive RV checks as you route-plan too. If you’re heading into remote areas between parks, verify your systems work flawlessly before you leave cell service behind. Once we had to reroute an entire week because our fresh water pump failed and the nearest repair shop was 200 miles back the way we came, now we test everything before hitting isolated stretches.
The best routes aren’t just efficient; they’re sustainable for your family and your rig over days or weeks on the road.
Safety Checks and What to Verify Before You Leave
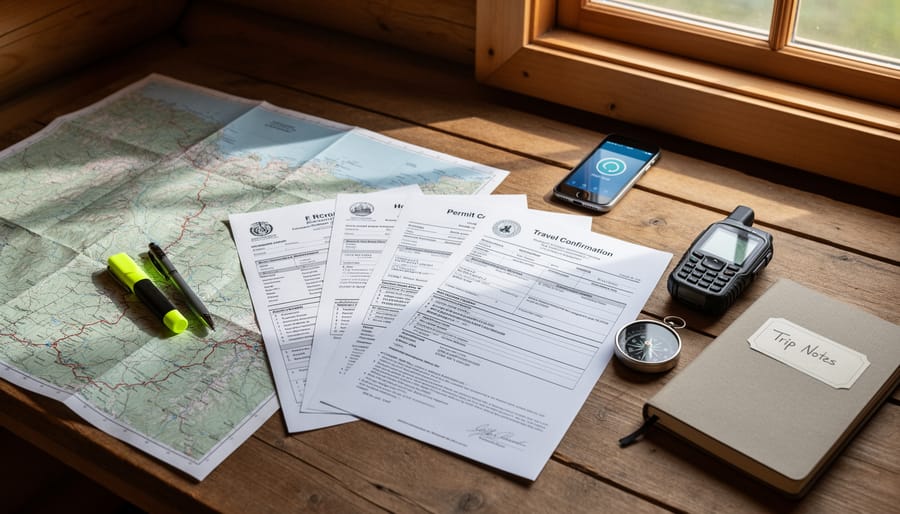
Before you load up and roll out, take a morning to walk through a final safety checklist, it’s the difference between a smooth start and turning around three hours in. Begin with your reservation confirmations: open every email, screenshot your booking details, and save offline copies to your phone. I learned this the hard way when we arrived at a park only to discover the confirmation email hadn’t actually gone through, and the ranger station’s Wi-Fi was down. Print or download your permits too, because not every park entrance has reliable connectivity to verify digital passes.
Next, verify that the campground amenities you booked actually match what your family needs. If you reserved based on hookup availability that you never confirmed, you might be unpleasantly surprised. Cross-reference your app data with the park’s official website, check that dump stations are operational, water sources are accessible, and any cookhouse or shelter facilities you’re counting on are open. This is also the time to confirm your apps work offline: download maps, cache campground details, and pre-load directions before you leave cell coverage.
Walk around your RV and run through the systems checklist: test water pump and tank levels, verify your waste tanks are empty and valves are closed, check tire pressure, and make sure your battery is charged. If you’re heading to parks with limited electrical hookups, have a backup power plan, a generator, solar panels, or at minimum, a clear understanding of how long your battery will last. Finally, pack a contingency kit for last-minute camping detours: extra propane, a portable dump hose, paper maps, and a list of commercial RV parks along your route in case plans change.
What to Do When Plans Change on the Road
Even with careful planning, road trips rarely go exactly as expected, and that’s okay. We once had a reserved campground close due to wildfire smoke, forcing us to find a new spot with two kids asking “Are we there yet?” from the back seats. That scramble taught us that flexibility isn’t just helpful, it’s essential.
When your original plan falls apart, open your apps immediately. Campendium and similar tools can show you nearby alternatives with real-time availability, including commercial RV parks that almost always have openings. Yes, they cost more than national park campgrounds, but having a clean bathroom, working hookups, and a safe place to sleep beats driving aimlessly at sunset. We bookmark a few private campgrounds along every route as insurance.
Keep a list of chain RV parks (KOA, Thousand Trails, Harvest Hosts) in your back pocket. Many accept same-day reservations, and some Harvest Hosts locations offer free overnight parking at farms or wineries in exchange for a purchase. When plans shift, these networks become lifesavers.
If you’re stuck waiting out a closure or weather delay, lean into the detour. Our unplanned two-day stop at a small-town fairground turned into one of our favorite memories, the kids made friends at the playground, we discovered a fantastic local diner, and we had time to cook easy camp meals instead of rushing. Sometimes the best parts of a trip are the ones you never planned at all. Keep snacks handy, stay patient with each other, and remember that every detour is just another story waiting to happen.
Frequently Asked Questions
Do all national parks have RV hookups?
No, most national park campgrounds don’t offer full hookups. Many provide dump stations where you can empty your tanks, but you’ll typically rely on your RV’s self-contained systems. Plan ahead by checking whether your destination has dump stations nearby or if you’ll need to stop at a commercial RV park between parks.
How far in advance should I book my campground reservations?
For popular parks during peak season, book as soon as reservations open. For example, Jasper National Park’s Parks Canada Reservation Service launches on January 27, 2026 at 8 am MT, and spots fill quickly for the busy July and August months. Set calendar reminders and be ready right when booking windows open.
What if I can’t get a reservation at my first-choice campground?
Don’t panic. Use apps like Campendium to find alternative campgrounds near the park or look for commercial RV parks that offer full hookups as a backup. Flexibility is your friend, and sometimes those unplanned stops become the most memorable parts of your trip.
Can I comfortably camp without access to a dump station?
Yes, but it requires careful planning. Know your tank capacities and be conservative with water use. If you’re boondocking for several days, you may need to adjust your route to include a dump station stop midway through your trip rather than waiting until you leave the park.
Are there amenities for families at national park campgrounds?
It varies by park and campground, but many offer family-friendly features. Jasper National Park, for instance, has cookhouses available at most campgrounds, which are perfect for preparing meals when weather turns rough or you want a sheltered cooking space. Check individual campground details when booking to see what’s available.
These questions come up constantly when families start planning their first big national parks RV adventure, and honestly, they’re the same ones I asked before our maiden voyage. The answers aren’t always what you hope for, especially if you’re used to private RV parks with all the bells and whistles, but understanding the limitations ahead of time helps you pack appropriately and set realistic expectations. Remember that national parks prioritize preserving the natural environment, so fewer amenities often mean you’re closer to the wilderness experience you came for in the first place.
Planning a national parks RV road trip with your family isn’t about executing a perfect itinerary. It’s about equipping yourself with the right tools, doing your homework, and staying flexible enough to roll with whatever the road throws at you. You’ve now got a clear process: research park rules, mark those competitive booking windows on your calendar, hunt down campgrounds with the amenities you need, build a route that makes sense, verify everything before you leave, and keep a backup plan in your pocket.
The beauty of RV travel is that your home goes with you. A missed reservation or a closed campground doesn’t end the adventure, it just redirects it. Some of our most memorable stops happened because Plan A fell through and we had to improvise.
Start your planning now, even if your trip is months away. Bookmark Campendium and other essential apps. Set reminders for reservation launches at your dream parks. Make a list of must-see destinations, but leave room for spontaneity. The campground you settle for might have the best sunset view you’ve ever seen. The detour you didn’t plan could lead to a hidden gem your kids talk about for years.
National parks are waiting, and your RV is ready. Embrace the planning process, trust your preparation, and remember that the journey itself is half the magic. Get out there and make some memories.